
O que você está procurando
?
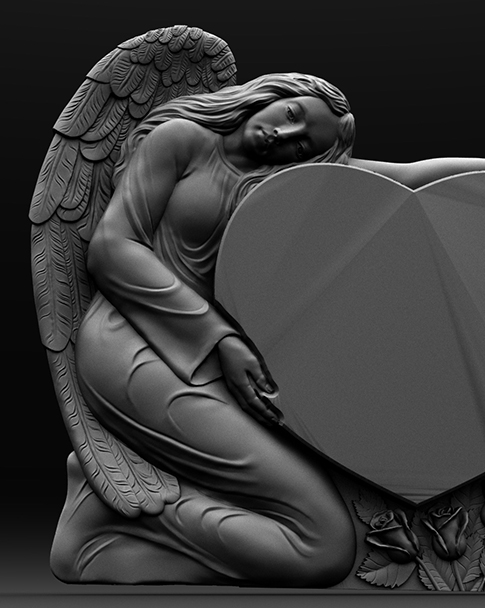

Muitos pela primeira vez máquina de pedra CNC Os compradores fazem a mesma pergunta: "Como a máquina sabe onde esculpir?"
A resposta é simples: a máquina não pensa sozinha. Cada movimento resulta de uma trajetória de ferramenta criada pelo software CAD/CAM antes do início da usinagem.
Um percurso de ferramenta é essencialmente um conjunto detalhado de instruções que diz à máquina CNC:
Sem um percurso de ferramenta gerado corretamente, mesmo o mais máquina avançada de escultura em pedra CNC não consegue produzir resultados precisos.
Este artigo explica como é criado um percurso de ferramenta para escultura em pedra, que informações ele contém e por que escolher a ferramenta de corte correta é tão importante quanto o próprio projeto.
O que é um percurso de ferramenta CNC?
Considere o percurso da ferramenta como um sistema de navegação GPS para sua máquina CNC. Assim como o GPS guia o motorista curva a curva, o percurso da ferramenta guia o fuso ponto a ponto.
Em vez de dizer "Vire à esquerda em 100 metros", o sistema insere comandos como:
Cada movimento do fuso é planejado antes do início da usinagem. O controlador simplesmente segue essas instruções com alta precisão.
O processo completo de criação de trajetórias de ferramentas
A criação de um percurso para ferramenta de entalhe em pedra geralmente envolve cinco etapas principais.
Etapa 1 — Importar ou criar o design
Tudo começa com a obra de arte.
Dependendo do seu projeto, você pode:
Para entalhe em relevo, o software converte a imagem em um modelo de altura em tons de cinza.
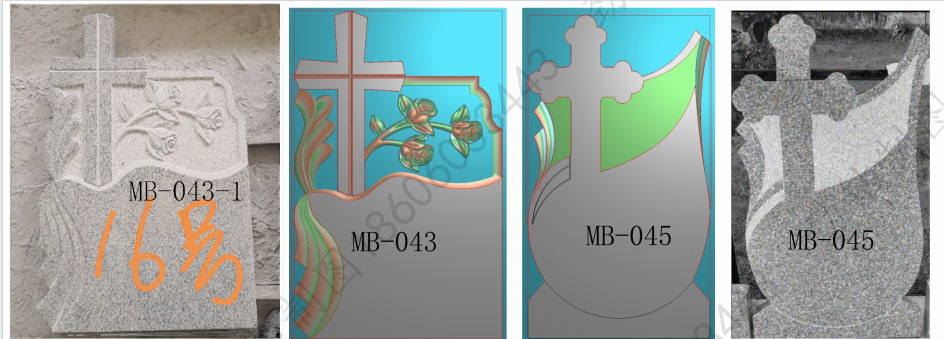
De um modo geral:
Essa informação de altura torna-se a base para o percurso de usinagem.
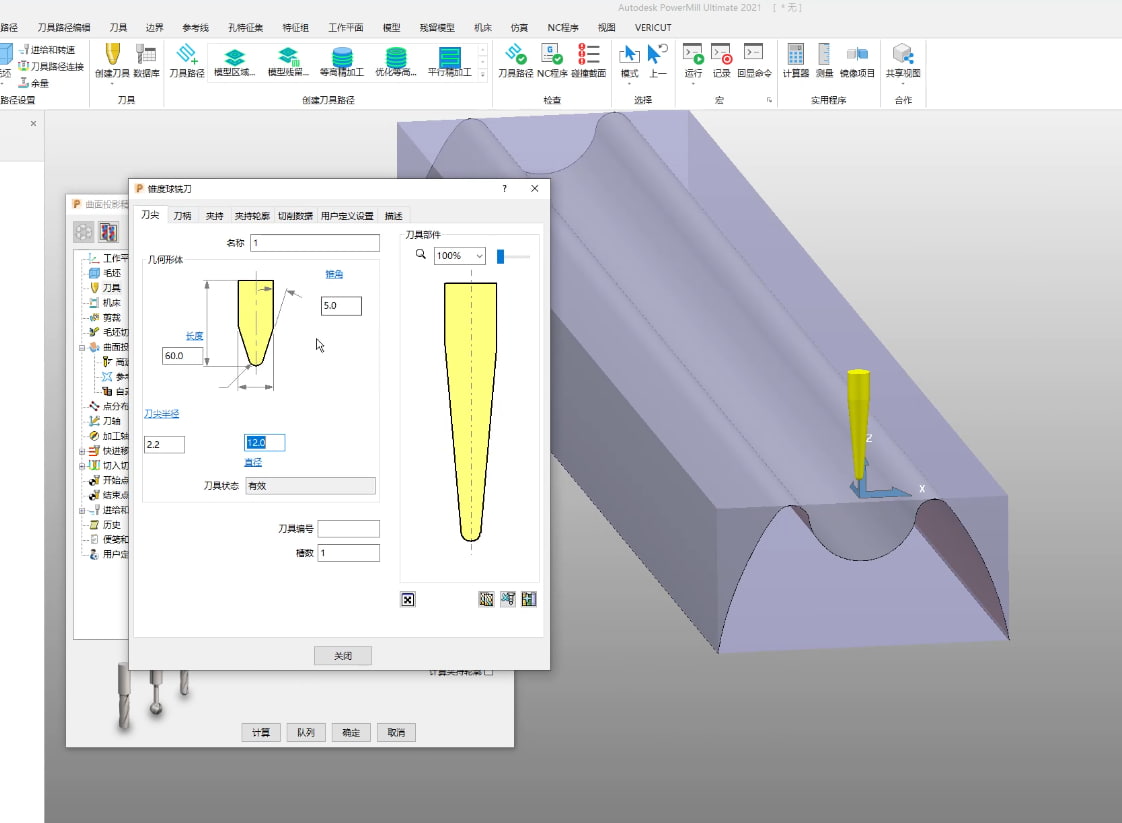
Passo 2 — Selecione a ferramenta de corte correta
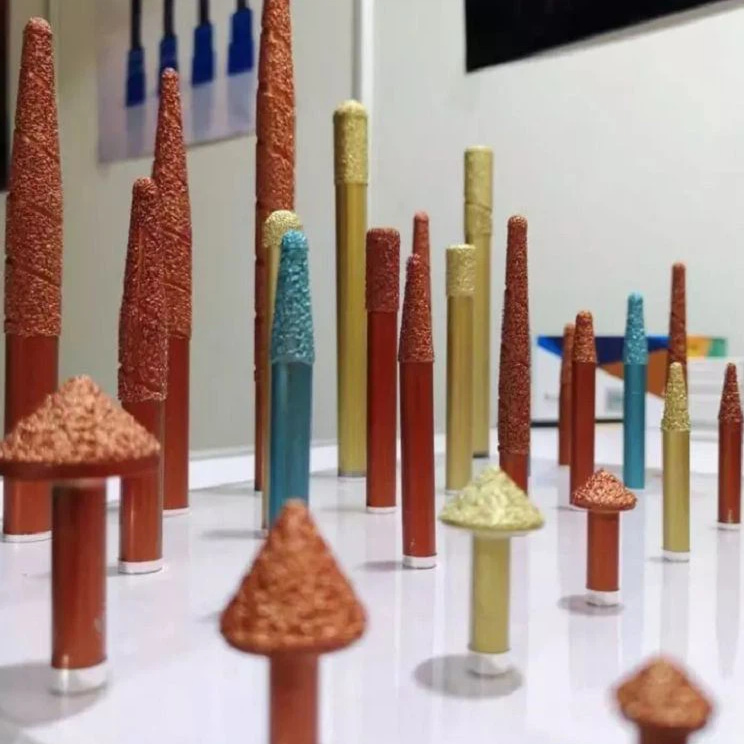
O software precisa saber exatamente qual ferramenta será instalada na máquina.
As ferramentas típicas para escultura em pedra incluem:
Os parâmetros importantes incluem:
Se o software assumir uma fresa de ponta esférica de 6 mm enquanto a máquina usa, na verdade, uma ferramenta plana de 10 mm, a escultura final não corresponderá ao desenho. Um parâmetro incorreto pode afetar todo o projeto.
Etapa 3 — Gerar o percurso da ferramenta
Assim que o projeto e as informações da ferramenta estiverem prontos, o software CAM calcula automaticamente o percurso de usinagem.
Durante o cálculo, o software determina:
O percurso da ferramenta gerado aparece como centenas — ou até milhares — de linhas. Cada linha representa um movimento da ferramenta de corte.
Geralmente:
Encontrar o equilíbrio certo depende do material e da qualidade de acabamento desejada.
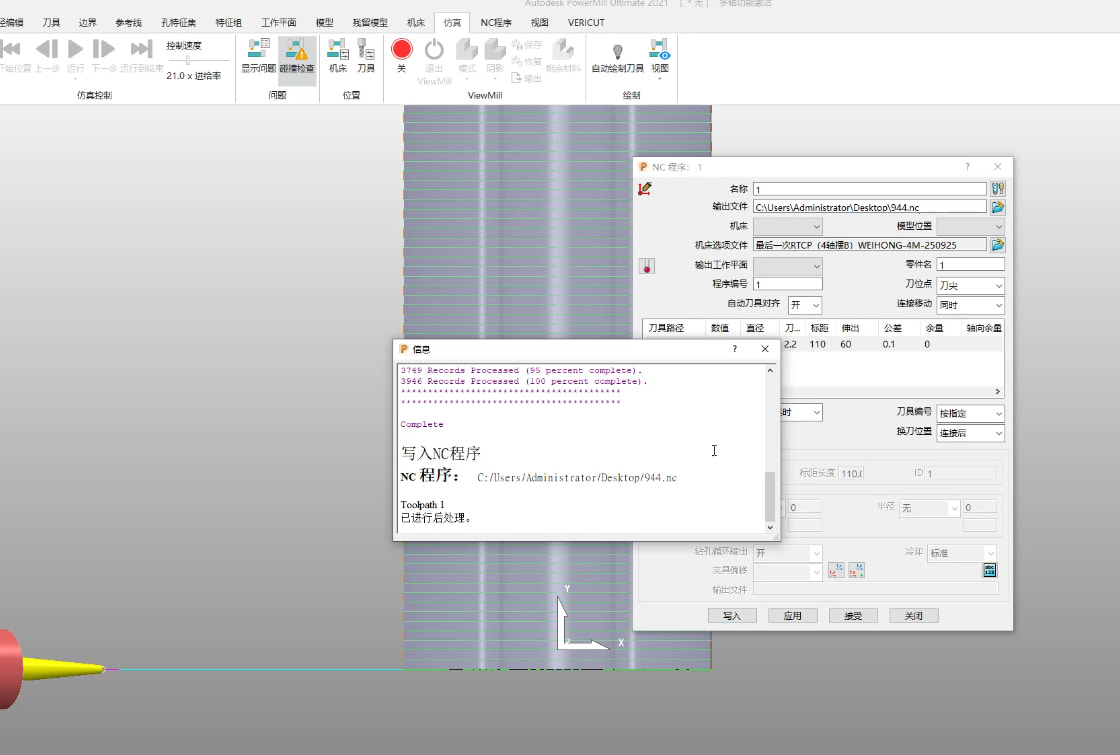
Etapa 4 — Exportar o percurso da ferramenta
Após a verificação, os dados de usinagem são exportados. Muitas máquinas CNC para pedra que utilizam o sistema de controle NcStudio salvam programas de usinagem no formato ENG.
O fluxo de trabalho é simples:
Neste ponto, o controlador tem tudo o que precisa para executar a tarefa.
Etapa 5 — Execute a escultura
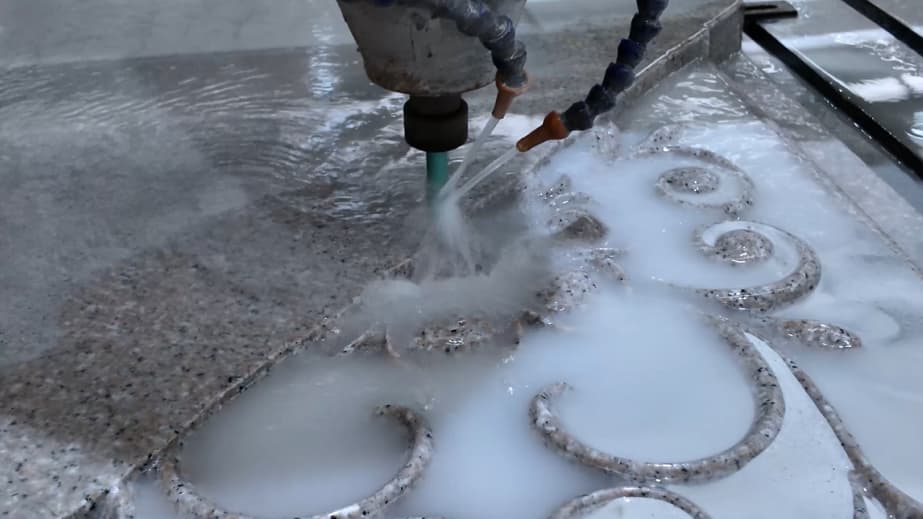
Quando a usinagem começa, o controlador CNC lê todas as instruções contidas no arquivo ENG.
O fuso segue as coordenadas programadas com precisão, mantendo a profundidade de corte especificada.
O operador monitora o processo e pode ajustar as condições de corte, se necessário.
Embora o percurso em si seja fixo, os parâmetros de usinagem ainda podem ser otimizados durante a produção.
Que informações contém um arquivo de trajetória de ferramenta ENG?
Um arquivo de usinagem ENG armazena muito mais do que simples coordenadas.
As informações típicas incluem:
| Dados | Propósito |
|---|---|
| Coordenadas X/Y | posição de movimento da ferramenta |
| profundidade do eixo Z | Profundidade de corte |
| Sequência de usinagem | Ordem das operações |
| Altura segura | prevenção de colisões |
| Instruções de alimentação | controle de movimento da ferramenta |
Diferentemente do desenho do projeto, o arquivo ENG informa à máquina como fabricar o projeto, e não apenas qual deve ser sua aparência.
Onde são definidas a taxa de avanço e a velocidade do fuso?
Muitos iniciantes presumem que esses valores são armazenados permanentemente dentro do percurso da ferramenta. Na realidade, operadores experientes costumam ajustá-los durante o processo de usinagem.
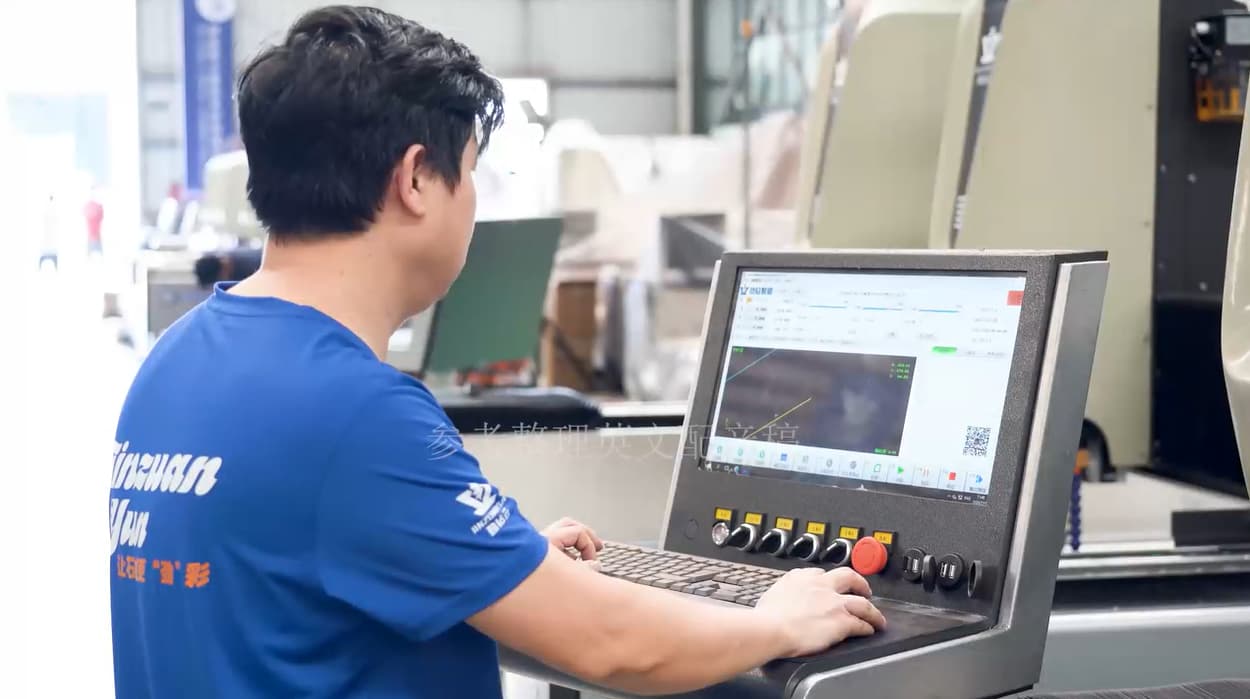
O controlador NcStudio permite ajustes em tempo real através de controles de sobreposição.
Os princípios operacionais típicos incluem:
| Material ou Operação | Ajuste recomendado |
|---|---|
| Granito | Taxa de avanço mais baixa, corte estável |
| Mármore | Taxa de alimentação média |
| Arenito | Taxa de alimentação mais alta |
| Bruto | Alimentação mais rápida |
| Acabamento | Alimentação mais lenta para melhor qualidade da superfície. |
As melhores configurações dependem de:
Operadores experientes ouvem o som do corte e observam a remoção dos cavacos, fazendo pequenos ajustes conforme necessário.
Erros comuns que iniciantes cometem ao criar trajetórias de ferramentas
Muitos problemas de usinagem têm origem antes mesmo da máquina ser ligada.
Os erros mais comuns incluem:
A maioria desses problemas pode ser evitada com uma inspeção prévia cuidadosa à usinagem.
Fluxo de trabalho de criação de trajetória de ferramenta
| Etapa | Operação | Propósito |
|---|---|---|
| Passo 1 | Importe ou crie o design. | Prepare o modelo para a escultura a partir de uma foto, desenho ou arquivo 3D. |
| Etapa 2 | Selecione a ferramenta de corte | Faça com que as configurações do software correspondam às da lâmina de corte instalada na máquina. |
| Etapa 3 | Gere o percurso da ferramenta | Calcule cada movimento, profundidade de corte e trajetória de usinagem. |
| Passo 4 | Exportar o arquivo ENG | Salve o percurso da ferramenta como um arquivo ENG e copie-o para uma unidade USB. |
| Etapa 5 | Carregar no Controlador | Abra o arquivo no sistema Weihong e inicie a usinagem. |
Considerações finais
Uma máquina CNC de escultura em pedra só é tão precisa quanto o percurso da ferramenta que segue.
Criar um percurso de ferramenta de alta qualidade exige mais do que simplesmente importar um projeto — envolve selecionar a ferramenta de corte correta, gerar uma estratégia de usinagem otimizada, verificar o resultado e ajustar os parâmetros de usinagem com base no material que está sendo processado.
Compreender esse fluxo de trabalho ajuda os operadores a reduzir erros, melhorar a qualidade da escultura, prolongar a vida útil da ferramenta e maximizar a eficiência da máquina. Seja na produção de painéis em relevo, esculturas, bancadas ou lápides memoriais, dominar a geração de trajetórias de ferramentas é uma das habilidades mais valiosas na usinagem CNC de pedra.
Deixe um recado
Digitalizar para Wechat :

Digitalizar para WhatsApp :






 Rede IPv6 suportada